Tube Status Board
Building a display for the London Underground and my first experience with Claude
By Piers Walter
I recently went to a hackathon at a friend’s house where we explored Claude Code with a range of people, from experienced devs, to those who’d never written code before. I’d had some experience with IBM’s Bob so I was familiar with AI coding assistants and what they could do for full-stack web development, but I was curious how it would cope with another one of my areas of interest, embedded systems.
The Design
I’d bought a Claude Pro subscription, which gave me access to Claude Design, which allows you to build a fairly interactive mockup of a design for an interface. As somebody with zero design skill, it’s been really easy to use and creates good looking designs which you can tweak and iterate on before building any functionality. I thought it might struggle a bit with embedded as the resolution is a lot lower than a typical web app but once I told it it had to work with a 480x480 display and to use LVGL display features away it went building an interactive prototype which I could use later.
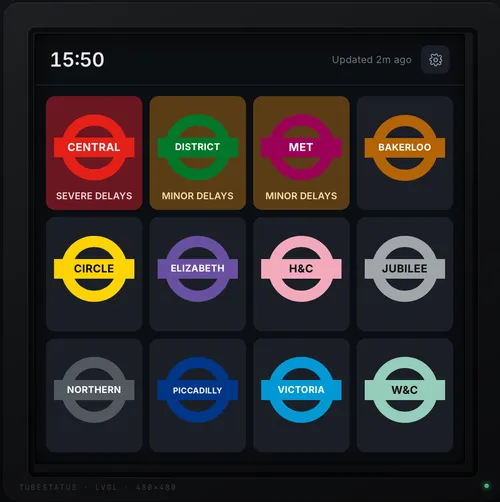
What Claude generated after a couple of prompts
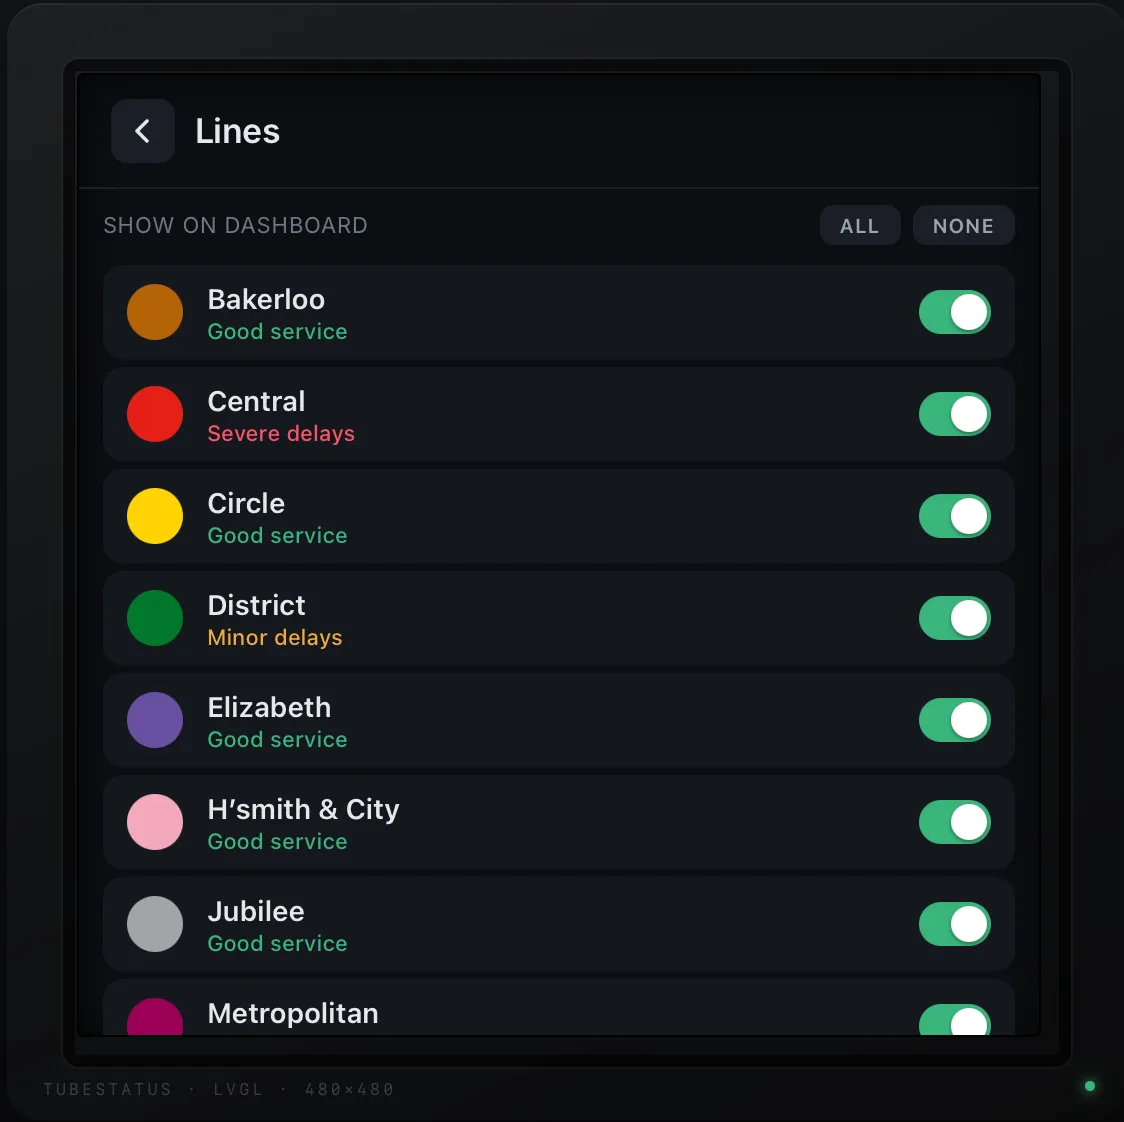
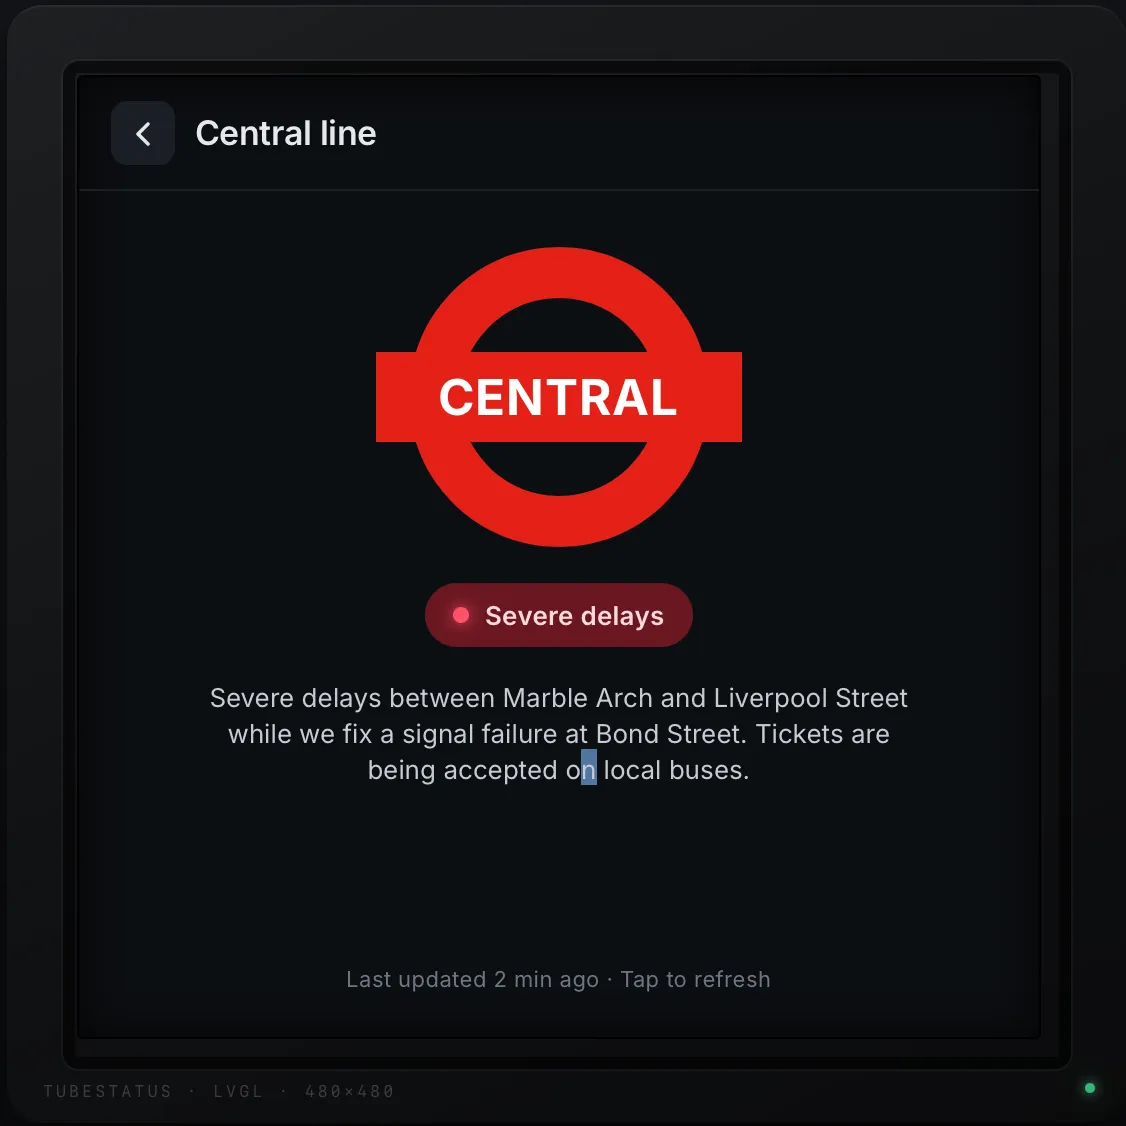
I could also click on each tube line to see an example status message, as well as picking the lines I’m personally interested in, and see how that would affect the homepage.
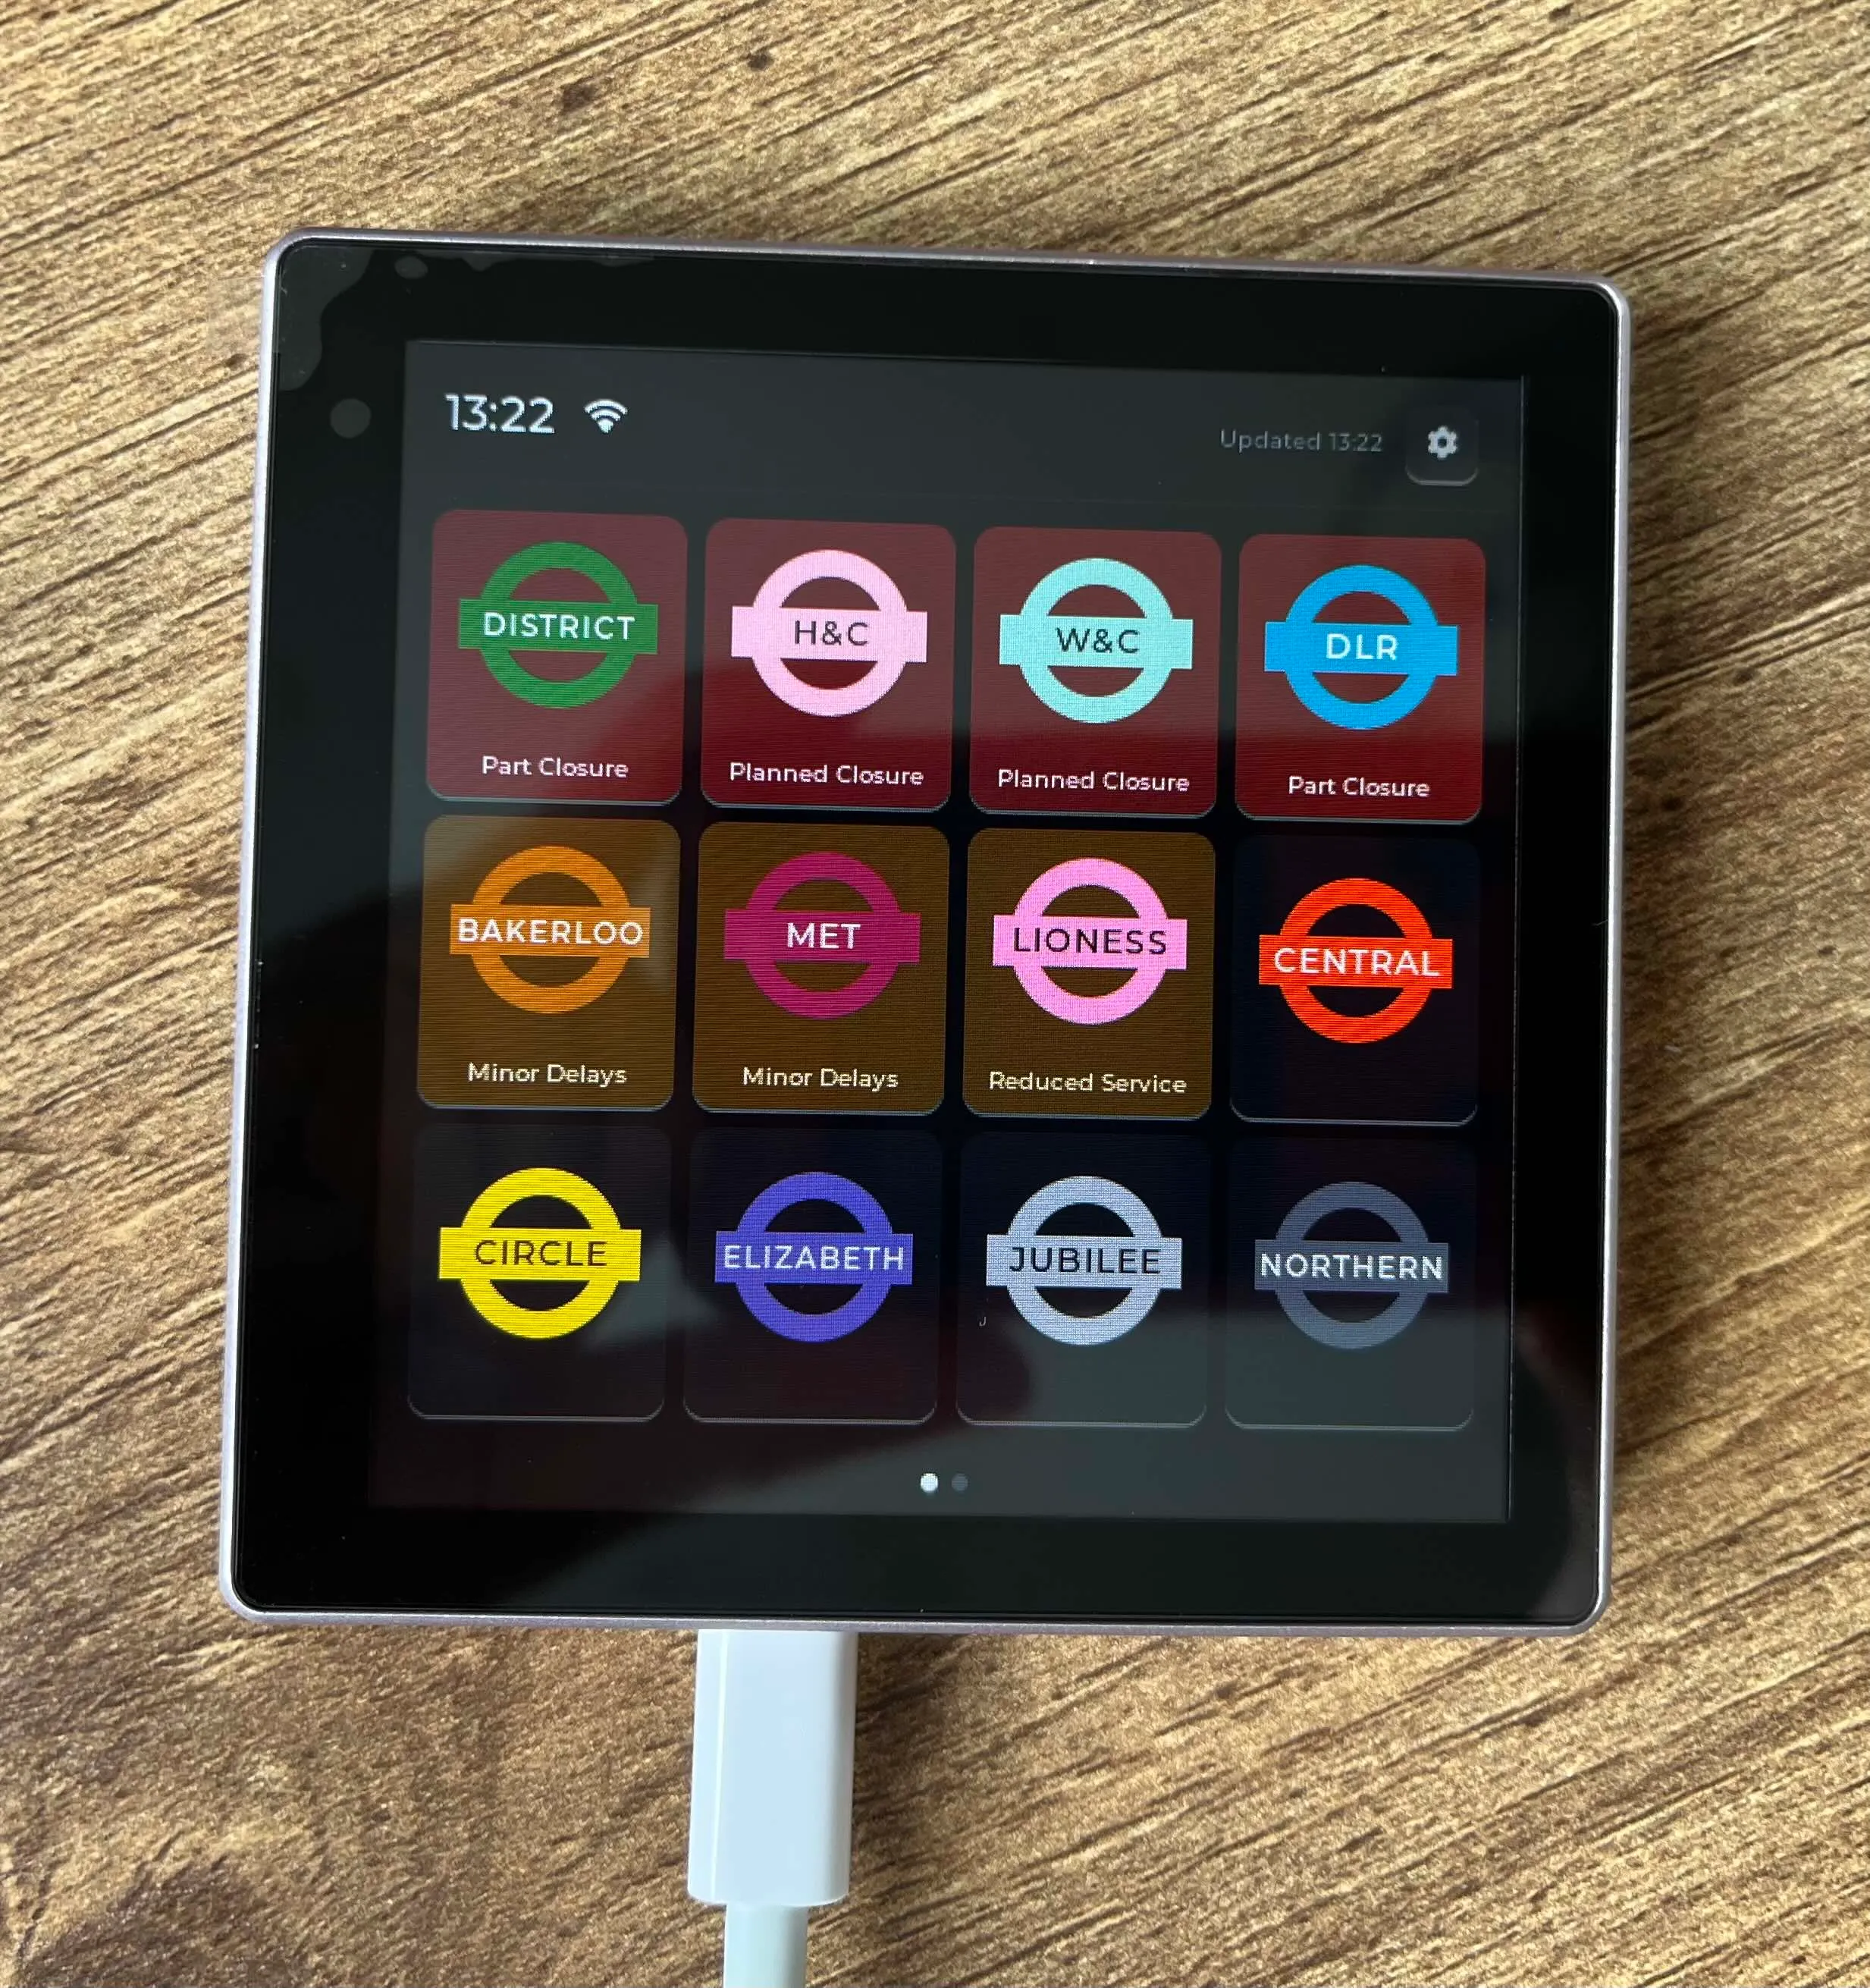
The Hardware
For the hardware, I made use of an ESP32-4848S040 module from AliExpress, specifically this one which I bought for ~£16 ($22USD). It has a fairly powerful ESP32-S3 on board, along with a 480x480px capacitive touch screen, built in WiFi & Bluetooth, micro-SD card slot, 16MB of ROM & 8MB of PSRAM which is useful for loading graphics / web content. It has a USB-C connector on the bottom for programming & power, allowing it to run off a phone charger once you’re happy with it. I’ve bought a couple of these so far and have been happy with their performance and capabilities so far, and I imagine I’ll buy more for future projects. If you have a 3D printer, there are cases / holders for this device available, so you can wall mount it or put it on your desk easily.
The Software
To get started I made a fork of this repo which sets up platformIO and the LVGL libraries for this specific hardware, giving a nice starting point for an application you want to build, as often getting libraries and configuration for hardware can be a bit fiddly. From there it was a case of starting to prompt Claude in VSCode with instructions to take the design files, and turn that into LVGL code. This worked pretty much first time and the time needed to get something working is much shorter than doing this by hand, although it did trip itself up occasionally on LVGL v8 / v9 differences. I found it mostly worked well, but I did occasionally need to change from Sonnet 4.6 to Opus 4.8 when getting into some specific niches to do with memory management, especially as there’s a lot of network overhead in creating a TLS connection, checking certificates etc which can mean you run out of space on the heap with all the objects that get created, and also fragmentation issues. With the UI working as intended, pointing Claude at some example calls for the excellent TfL API it hooked that up to the UI and there it was working without a hitch.
I later implemented a few nice-to-have features for the display, such as the ability to set the WiFi credentials on the boards rather than hardcoding and being able to change the rotation so you can wall-mount or have it on a desk, which again were all handled pretty easily. One of the more interesting things Claude also built was the ability to take screenshots of the device. By simply enabling a build-time flag, it will run a server on the device and serve a screenshot of whatever’s showing, making it nice and easy to generate pictures for READMEs / instructions. I was really impressed with how quickly it built this after a couple of prompts fixing various issues.
Summary
Overall I’ve been really impressed with what LLMs can generate for embedded systems. What I’ve built with it here is a pretty simple use-case but it really shows how AI brings down the barrier to entry for building small smart-displays in your home for whatever specific information you want to see, and I’m excited to see how this changes as things go forwards.
If you want your own display, grab a copy of the code from the Github Repo, buy the display, and flash it with platformIO in VSCode and you’re good to go. No API keys are needed at all to get started.